


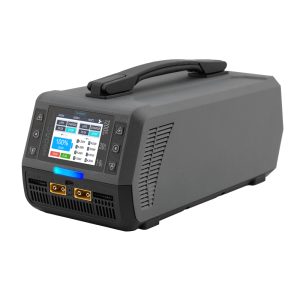
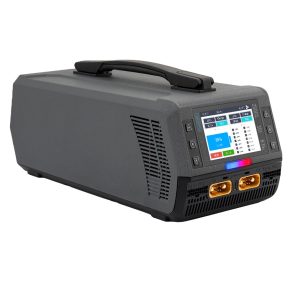


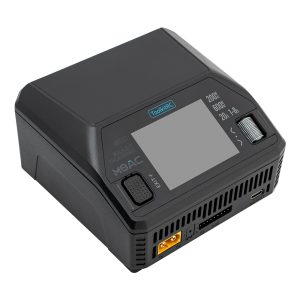


If your M7 Charger won't start, the following screen appears on the display, and it's not working properly,

please try the following:
1. Download the appV000 firmware package.
2. Turn off the charger, hold down the EXTI.F key, and connect it to your computer.
3. Unzip the firmware package and copy the appV000.upga firmware to the charger folder (also known as the 【Toolkit】 folder).
4. Disconnect the charger from your computer and download the latest firmware from [https://download.toolkitrc.com/m7/].
5. Update the firmware again to the latest version.
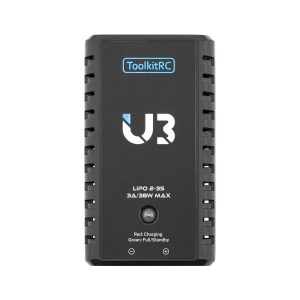
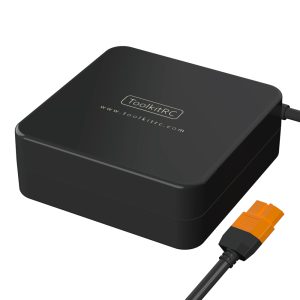
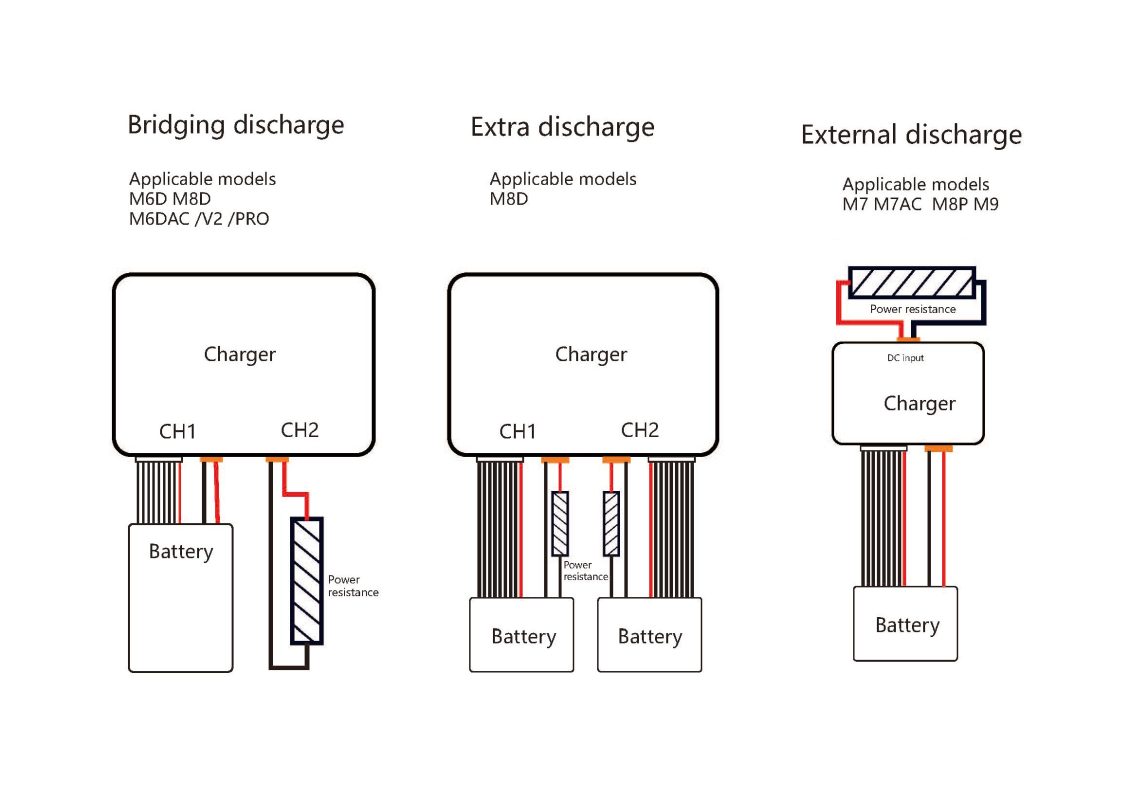
Use a charger in combination with other tools and equipment to discharge the battery that needs to be discharged.
Commonly used for battery maintenance.
The ToolkitRC charger's external discharge mode mainly includes the following three types: Bridge discharge, Extra discharge, and External discharge.
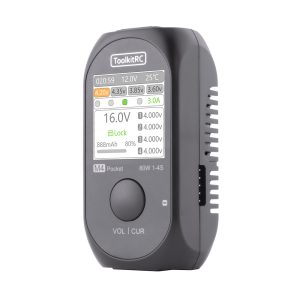
Manual calibration procedure is as follows:
●When the charger is switched off, press and hold the scroll wheel, and power on the input. When the charger is switched on, it will enter the calibration page.
●Connect a fully charged battery to the output terminal, and manually calibrate each voltage value on the calibration page to the actual value. The actual values are measured with a multimeter.
●Save, exit and reboot.
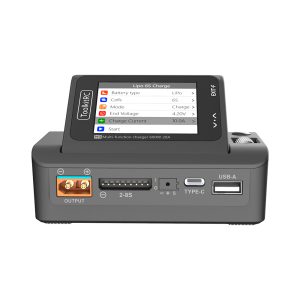
●Before connecting to the power supply, press and hold the [Type/Current key], and then turn on the power, and enter into the calibration page. As shown in the figure below.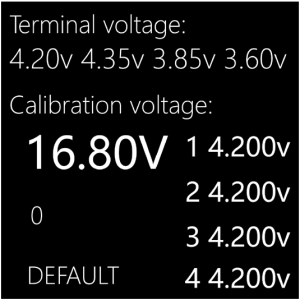
●Connect a fully charged battery to the output, and manually calibrate each voltage value on the calibration page to the actual value. The actual values are measured with a multimeter. The calibration is done.